DLO Backup Utility Guide
Arctera DLO Backup Utility Guide
Welcome to the Arctera Desktop and Laptop Option (DLO) Agent support page. This guide provides instructions on how to access and restore backed-up data from remote locations using the Arctera DLO Web Portal and the DLO Desktop Agent.
Restoring Files Using the DLO Desktop Agent
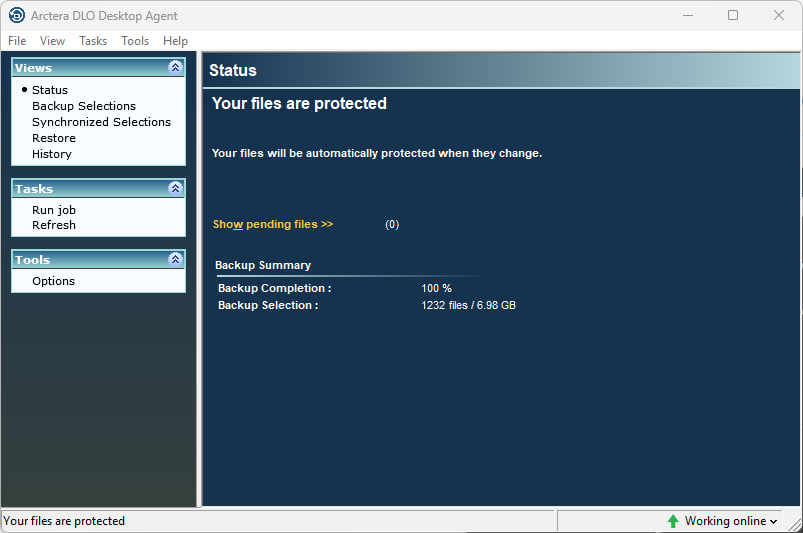
- Click the Arctera DLO Desktop Agent icon in your system tray (bottom-right corner).
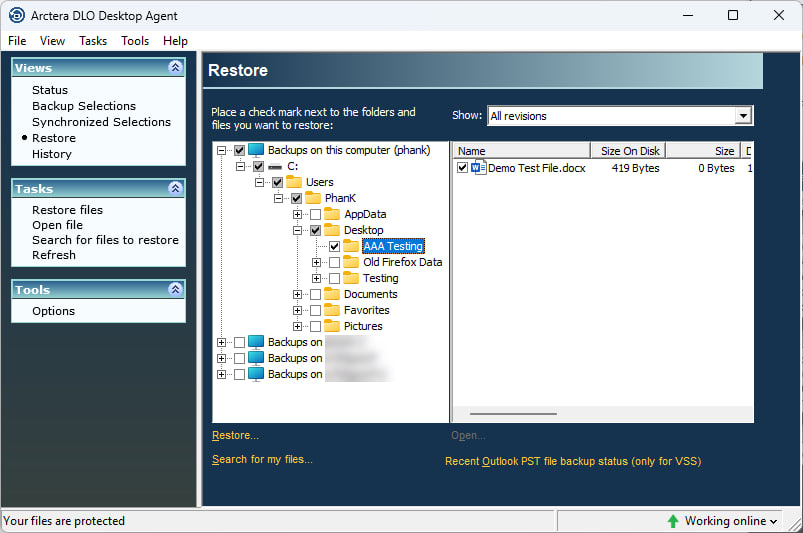
- In the window that opens, click Restore from the left-hand menu.
- Expand Backups on this computer by clicking the + sign.
- Navigate to the folder where the file was originally located (e.g., Desktop, My Documents).
- Select the file:
- Check the box next to the file name, or
- Right-click the file and choose Restore.
- Accept the default options and click OK.
- The file will be restored to its original location.
Note: Up to three versions of a file may be available. You can choose which version to restore.
🔐 How to Access Backed-Up Data Remotely
Important Access Note
The Arctera DLO Web Portal is not accessible while connected to the UHD network — either on campus or via VPN.
Logging into the Web Portal
- Open a supported browser (Chrome, Firefox, Edge, Safari, or Internet Explorer).
- Go to: https://dlo.uhd.edu
- Enter your UHD credentials:
- Username:
uhd\yourusername(e.g.,uhd\smithj) - Password: Your UHD password
- Username:
- Click Login.
Once logged in, you’ll see the Arctera DLO Dashboard:
- Left Panel: Lists all computers you've used with DLO.
- Center Panel: Displays drives and folders from the selected computer.

Restoring Files via the Web Portal
- In the left panel, select the computer you want to retrieve data from.
- In the center panel, navigate to the folder containing your file.
- Use the
..folder to go up one level if needed. - Common paths:
- Documents:
C:\Users\[yourusername]\Documents\ - Desktop:
C:\Users\[yourusername]\Desktop\
- Documents:
- Use the
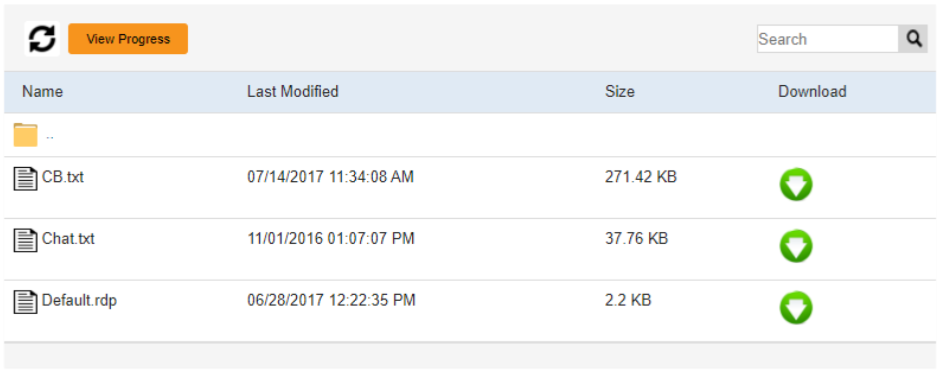
- Once you locate the file, you’ll see details like Name, Last Modified, and Size.
- Click the green download icon to begin downloading.
- For multiple files:
- Select them together.
- Click the yellow "View Progress" button to monitor download status.
Note: The web portal only allows downloading the latest version of a file. For older versions, contact the IT Service Desk.
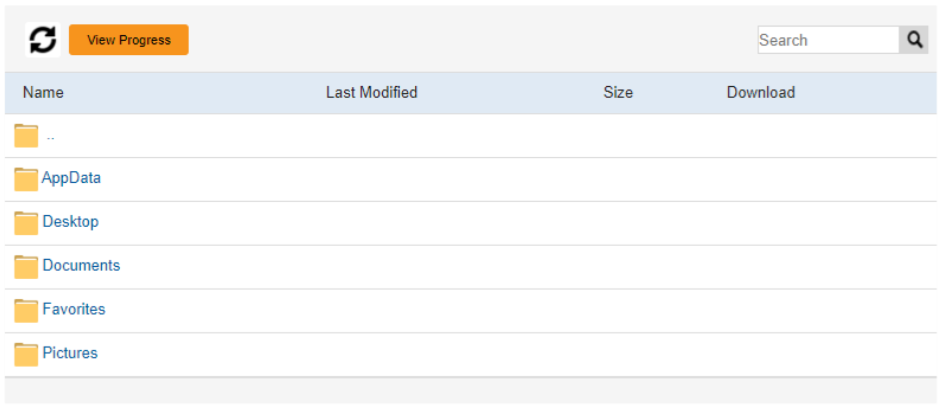
- Once you have located the file you wish to retrieve, you will see some file information like "Name", "Last Modified" date and "Size".
-
Click on the "Download" green circle to start downloading the file to the computer you are currently using. Please keep in mind that each browser has its own look and feel when downloading files.
![]()
-
You can select multiple files to be downloaded together.
-
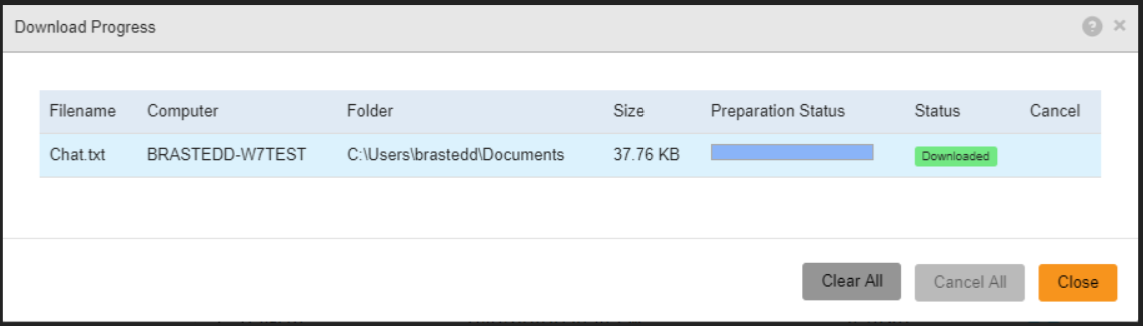
If you selected multiple large files for download, you can view the progress by clicking on the yellow view progress button above the file names.
![]()
Arctera DLO FAQs
All files located in the following folders under your user profile are automatically backed up — with some exceptions for specific file types (see below):
- Documents
- Desktop
- Pictures
- Browser bookmarks from Internet Explorer, Firefox, and Chrome
Only files stored in these protected locations are included in the backup process.
Files with the following extensions or types are excluded from backup:
- Executable and installation files:
.exe,.msi,.iso - Media files:
.mp3,.mp4,.avi,.wma - Temporary and virtual machine files:
.tmp,.vmdk,.vhd - Compressed archives:
.zip,.tar
These exclusions help optimize backup performance and storage efficiency.
If you have files or folders that you do not want included in the backup, follow these steps:
-
Create a folder named DO_NOT_BACKUP on your PC.
Note: The folder name must be typed exactly as shown — in all capital letters.
-
Move any files or folders you wish to exclude from backup into the DO_NOT_BACKUP folder.
The backup system is specifically configured to ignore this folder, ensuring its contents are not backed up.
-
To recover a deleted file using the Veritas DLO Desktop Agent, follow these steps:
-
Open the DLO Agent
Double-click the Veritas DLO Desktop Agent icon in the system tray (bottom-right corner of your screen). -
Access the Restore View
In the window that opens, click Restore from the Views panel on the left. -
Locate the Backup
Expand the section labeled Backups on this computer (your PC name) by clicking the + sign. -
Find the File
Navigate to the folder where the file was originally stored (e.g., Desktop, My Documents). -
Select and Restore
- Check the box next to the file name, or
- Right-click the file and choose Restore from the menu.
Accept the default options in the restore dialog.
-
Complete the Restore
Click OK once the process is complete. The file will be restored to its original location.
Note: Up to three versions of the file may be available. You can choose which version to restore.
-
📅 Support Hours:
- Monday – Thursday: 7:30 a.m. – 10:00 p.m.
- Friday – Sunday: 7:30 a.m. – 7:30 p.m.
📞 Phone: 713-221-8031
💬 Live Chat: ithelp.uhd.edu
📧 Email: itservicedesk@uhd.edu
🏢 In Person: ACAD 700 (Walk-in hours: 8:00 a.m. – 5:00 p.m.)