Zoom Waiting Rooms
The Waiting Room feature allows the host to control when a participant joins the meeting. As the meeting host, you can admit attendees one by one or hold all attendees in the waiting room and admit them all at once.
Enabling a Waiting Room
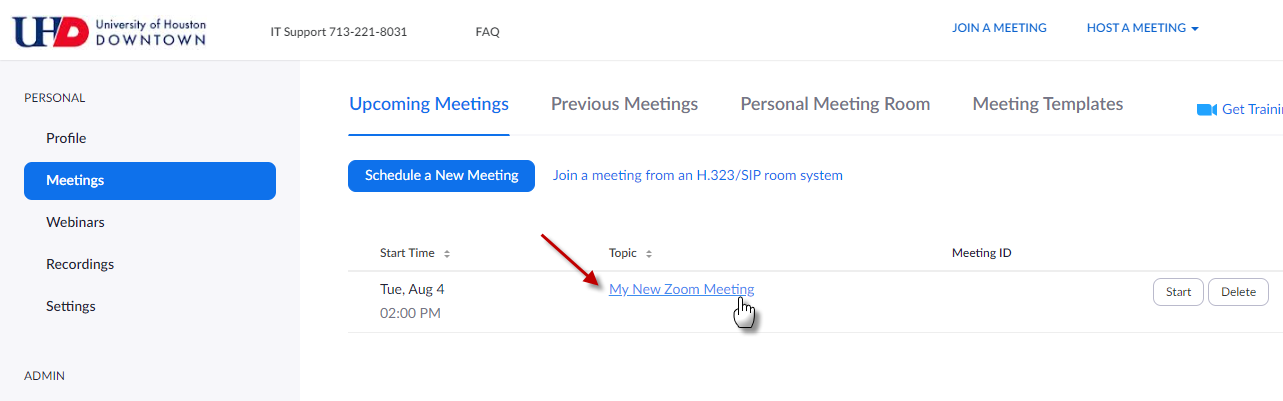
1. Sign in to the Zoom web portal.

2. Click Meetings.
3. Click the meeting topic you wish to enable the waiting room for.
4. At the very bottom of this page, click Edit this Meeting.
5. Under the Security section, check Enable Waiting Room.

6. Click Save.
You may now share or start your meeting as normal.
You may now share or start your meeting as normal.
Watch a short video on how waiting rooms work:
For additional support, Email TTLCHelp@uhd.edu